Nail art is famous and trendy today. Adding beads to your nails will make you look fab and fashionable. But how can we apply beads in our nails easily and beautifully? And how to remove it without damaging your nails?
Applying:

Colour combination: Pick a good combination of bead colour and design and nail polish colour base on the occasion. You don’t want to make your nails look weird.

Use Petroleum Jelly: Before putting your base nail polish, rub some petroleum jelly, like vaseline, around your nail for easy clean up excess and unnecessary nail polish outside your nails. You can use a cotton swab to do it easier. Then apply your desired base nail polish and wait for it to dry properly.

Draw Shapes: Apply another layer of nail polish in contrast to the base nail polish colour. You can make it plain or design some shapes like hearts, stars, flowers, or anything you like.
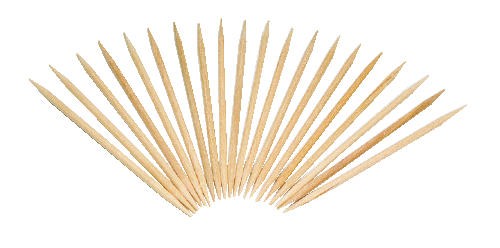
Use Toothpick: Before the second layer of your colour nail polish dry, pick up and arrange the beads to your nails. Use pointed tools like a toothpick and dip its tip into the water to make it easier to pick up. Arrange the beads gently to where exactly you want to put it.
Let the second layer dry with the beads.
Apply clear nail polish to top coat your bead nail art.
Removing:
No need to use Foil and Acetone: On removing your bead nail art. Make sure you use safe and reliable nail polish remover that will not damage your nails and skin. You can use Magic nail polish remover and do not need to worry on using foil and acetone.

Leave a comment